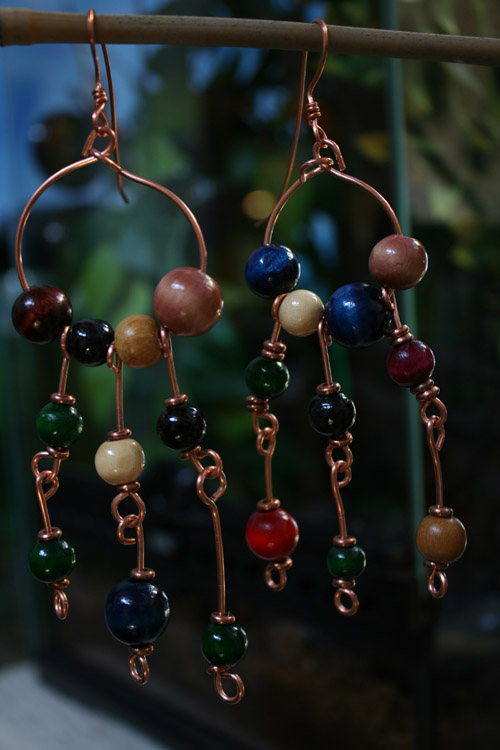
- If you happen to have a roll of .16 gauge copper wire handy, you’ll appreciate this beginner’s project, the Bead Curtain. Make some WOUND WIRE RONDELS on your large miniature screwdriver, and be sure to cut them FLUSH ON BOTH ENDS.
- Cut some 3″ long .16 gauge CORE WIRES, and be sure to FLUSH CUT ON BOTH ENDS.
- Now make a GENEROUS loop on one end of your core wire, and bring the end ALL THE WAY to close it against itself.
- TUG BACK on the main body of the core wire so that the loop is a perfect lollipop shape.
- Drop one or two WIRE RONDELS onto the core wire, then your wooden bead or beads, then one or two more wire rondels. If you used one, then use one again. If you used two, then use two to match on the other side of the main bead, as show in photo. You can combine any colors, shapes and sizes of wooden beads you want to have on there, the crazier and more random, the better. Make sure the beads don’t weigh too much, because the earring mustn’t be too heavy to actually wear.
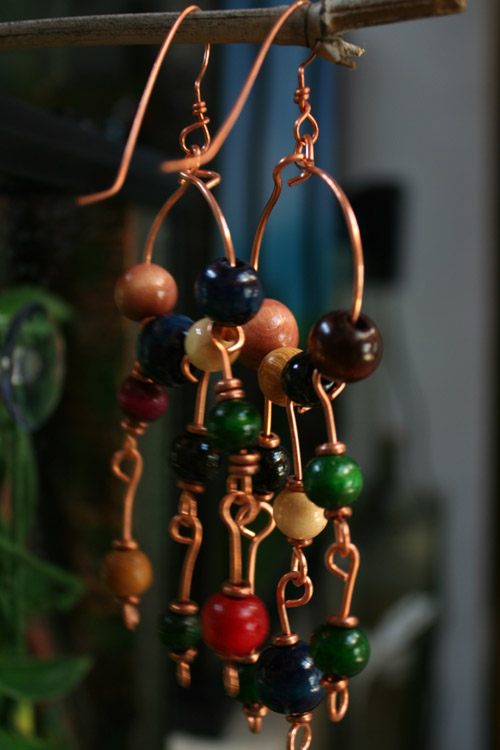
- Now make a CLOSING LOOP on the other end of the core wire, and you have a complete ELEMENT, which can be combined with other ELEMENT DROPS, as shown in photo.

Side view of simple beginner’s .16 gauge Tribal Earring project. - You can open the loop TO THE SIDE to preserve the loop’s perfect lollipop shape, and slip it onto another element.
- Make the HOOP, the main body of the earring, by making a LOLLIPOP LOOP at one end of a 3″ long .16 gauge wire, FLUSH CUT ON BOTH ENDS, making sure to roll the closing loop over the first loop, as shown in photo.
- Feed a WOODEN SEPARATOR BEAD of whatever size you like onto the HOOP, then add one wire drop element, then another separator bead, another element, another separator bead, another element, another separator bead, until you have THREE WIRE DROPS and FOUR WOODEN BEAD SEPARATORS on your HOOP.
- Now make two .20 gauge ancient-style ear wires as shown, and attach them by opening the .16 gauge loops, ALWAYS TO THE SIDE. Never open a loop by making it bigger. Continue reading

