Turn $8.50 into $10,000.00

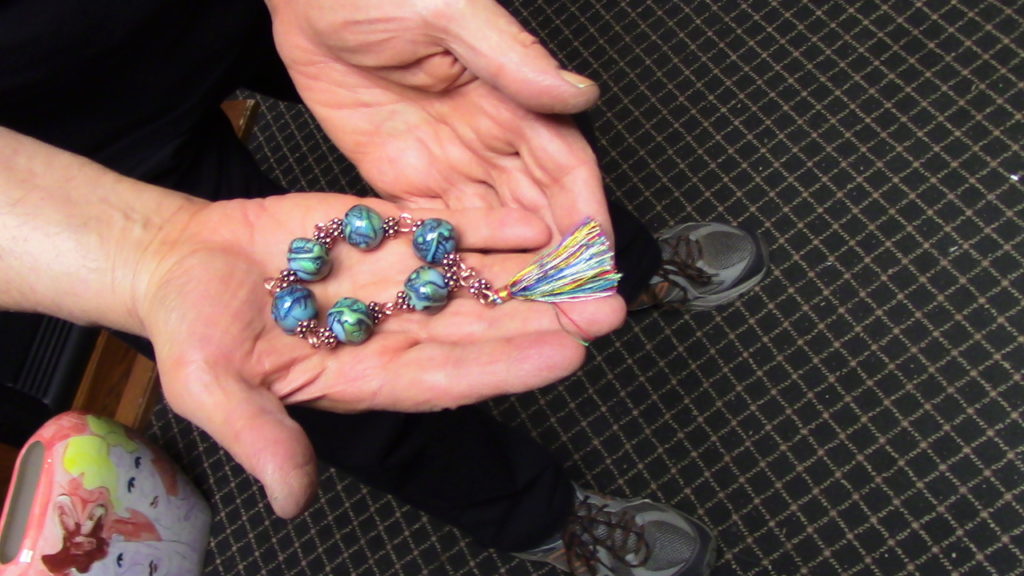
Copper and EMO Beads Six-Worlds Mala is easy and inexpensive to make.

That’s what I said. Turn an $8.50 roll of ordinary copper hardware store variety copper wire into upwards of $10,000.00 worth of valuable and desirable merch.

Listen, If you play your cards right, you could open a full-scale coppersmith’s jewelry shop in a matter of just a few hours. You could literally be an overnight success, and here’s how.

This 400-page fully illustrated “How-To” manual is for stone-age artisans only — you’ll be using the simplest tools, tools that were in daily use over 7,000 years ago, making designs that have not been seen for thousands of years. The ancient is new again!

99% of all commercial jewelers will have no idea how you did it — how you made rings out of wire, bracelets and necklaces out of wire and all sorts of earrings of every description and level of complexity or simplicity.

You will be a veritable factory of jewelry design, able to compete at any level and, when you get really good at it, you can graduate yourself to sterling silver and eventually 18k gold.

Of course, you’ll need a reputation in order to get the best prices — there are many hints on how to use social media to promote your productions, and you can get help at our ZOOM “Chain Gang” meetings where we make chain online together.

You can ask any question you like. As a matter of fact, I’d like to invite you right now to attend our very next linking workshop. Contact me for time and password.

See You At The Top!!!

gorby

My 49 Jewelry Basics

x
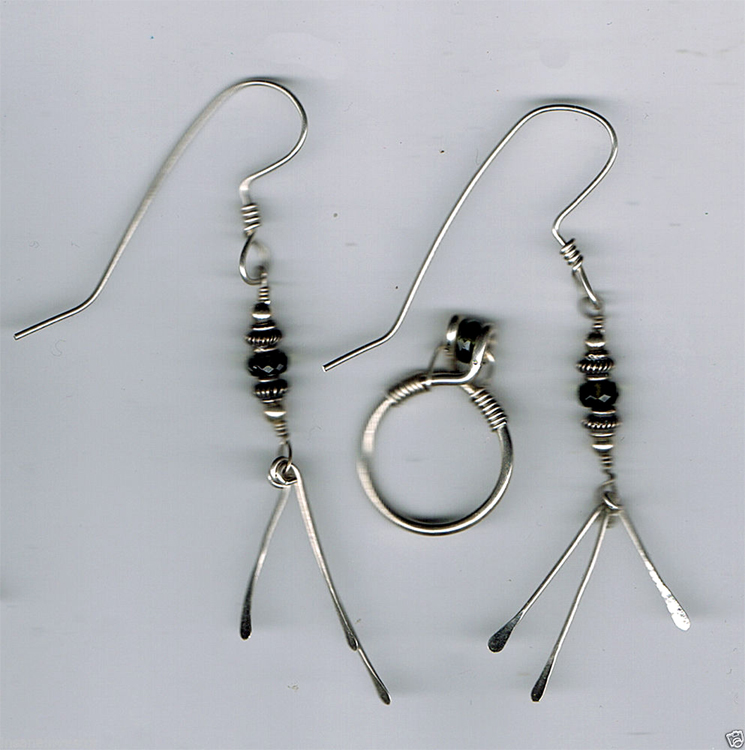
Handmade Moldavite Earring & Ring Set in .925 Solid Sterling Silver.

My Top 49 Jewelry Basics:

This is a set of basic stuff you really need to know if you plan to make and sell jewelry at home. Take a closer look at the photo above, and note that it’s all made from wire and beads — no solder, no casting.

Solder-free jewelry is impossible, unless it’s cast, and both are things I’d rather not do, especially for money, so I developed my line of wire-made jewelry, including wire-linked necklaces and bracelets, and wire-wrapped meteorites and other gemstones.

Gemstones are not typically drilled large enough to allow wire to pass through them, so I have to find gemstone suppliers who are willing and able to drill my stones just a wee bit wider, enough to accommodate a .16 gauge copper, silver or 18k gold wire.

By the way, jewelry-grade wire is already polished, so all it needs is a gentle rub, unless you’ve butchered the metal beyond simple polishing.

Beads as Money — Beads were the first money. Until then, about 50,000 B.C., any exchange was strictly in livestock, food, skins, weapons — some sort of trade or barter. The hole in a bead made it easy to carry on a string or leather thong, so you didn’t have to bury it near your home under the third fencepost as usual. Certain rare beads had definite values, such as seashells in an inland community with no seaport or ocean access. Common early “money” beads were made of bone, shell, wood, and some larger seeds or seed-pods. In some parts of the world, beads are still money, and some beads can bring many thousands of dollars, and even millions of dollars, at public auctions. Continue reading

How to Handle the Elements


x
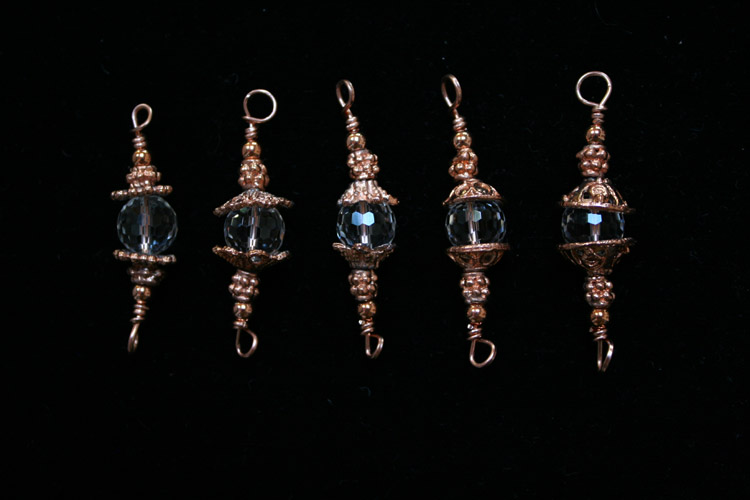
Rare 19th century British Victorian crystal beads in a variety of settings — note the different bead caps.

All jewelry, in fact all engineered structures, have one thing in common; they are made up of a collection of elements. What is an element? It is a single repeatable item — in the case of JAL jewelry, this consists of a series of beads on a wire, to wit:

  1.    Form a loop at one end of the 4″ long .20 gauge copper wire.
  2.    Wrap the end of the wire to finish the loop.
  3.    Press the cut end of the wire deeply into the wrapping so it doesn’t catch on anything.
  4.   Thread on a 4mm round copper bead.
  5.    Add a spacer bead.
  6.    Add a bead cap if wanted, with the hollow side toward the main bead.
  7.    Add the gemstone or main bead.
  8.    Add a bead cap rotated opposite the first cap.
  9.    Add another spacer bead.
  10.    Add another 4mm round copper bead.
  11.    Make a loop to close off and finish the element.

Continue reading